Address
304 North Cardinal
St. Dorchester Center, MA 02124
Work Hours
Monday to Friday: 7AM - 7PM
Weekend: 10AM - 5PM
Address
304 North Cardinal
St. Dorchester Center, MA 02124
Work Hours
Monday to Friday: 7AM - 7PM
Weekend: 10AM - 5PM
Properly installing hurricane ties for rafters is one of the most effective ways to strengthen your roof structure. These metal connectors help secure rafters to wall plates or beams, reducing the risk of wind uplift and structural movement.
In this guide, you’ll learn exactly how to install hurricane ties step by step, even if you are a beginner.
Hurricane ties are metal connectors designed to reinforce the connection between rafters, trusses, and supporting structures. They play a critical role in:
As a result, they are widely used in residential construction, decks, pergolas, and sheds.
Before you begin, prepare the following tools:
👉 Tip: Always use compatible fasteners to ensure proper load support.
First, place the hurricane tie at the joint where the rafter meets the top plate or beam. Make sure the connector sits flush against both surfaces.
👉 Proper alignment ensures better load transfer.
Next, check that all pre-punched holes line up correctly with the wood framing. This step helps distribute the load evenly.
Start by fastening one side of the hurricane tie to the rafter. Use screws or nails to hold it firmly in place.
Then, secure the other side of the tie to the wall plate or beam. Make sure all fasteners are tightened properly.
Finally, inspect the connection. Ensure the tie is firmly installed with no gaps or loose fasteners.
As a result, your rafter connection becomes significantly stronger and more resistant to movement.
Even though installation is simple, many users make these mistakes:
Therefore, always follow proper installation practices to ensure maximum strength.
You should install hurricane ties when:
In addition, they are essential for improving long-term structural safety.
If you are working on a small DIY project, standard packs are usually enough.
However, for larger construction jobs, bulk hurricane ties help you:
👉 For small projects:
Explore standard hurricane ties

👉 For large builds:
Check bulk hurricane ties for rafters
Installing hurricane ties for rafters is a simple yet powerful way to improve structural stability. By following the steps above, you can secure your framing connections and reduce the risk of wind damage.
Whether you are working on a DIY project or a large construction job, proper installation ensures long-lasting performance and safety.
How to Install Hurricane Ties for Rafters (Step-by-Step Guide) Yes, hurricane ties improve the connection between rafters and beams. As a result, they help prevent uplift and structural damage.
Yes, the installation process is simple. Therefore, both DIY users and professionals can install them easily.
You should use structural screws or nails that match the manufacturer’s recommendations.
Typically, you need one tie per rafter connection. However, large projects may require bulk packs.
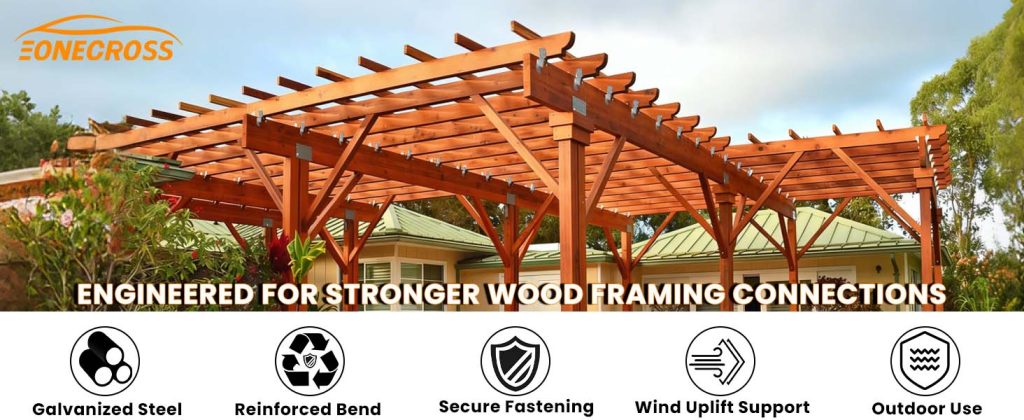
Yes, most hurricane ties are made from galvanized steel. Therefore, they resist corrosion and perform well outdoors.